Whole document tree
Chapter 9. Cell Formatting
9.1. Overview
Cell formats allow you to change the way cell data appears in the spreadsheet. It is important to keep in mind that it only alters the way the data is presented, and does not change the value of the data.
The formatting options allows for monetary units, scientific options, dates, times, fractions,and more. Positive and negative values can have different colors and formats for aiding in keeping track of values. There are also a large variety of date and time formats for virtually any time and date format one can think of. Formatting also allows you to set font, background color, and borders for selected cells.
Finally, advanced formatting options allow you to lock some of the cells so that their values can not be changed, or restrict the range of values that can be entered in the selected cells.
To change the formatting of a cell or a selection, you can either use the Format Cells dialog or use the Format Toolbar.
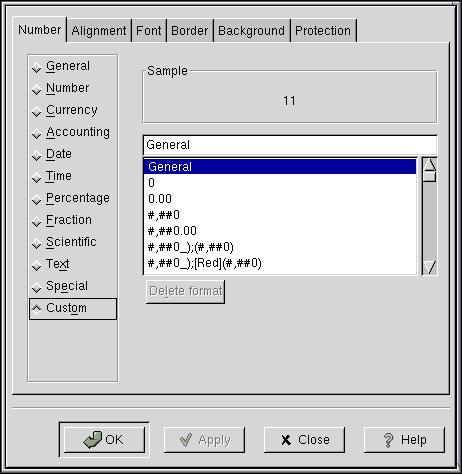
9.1.1. Format Cells Dialog
This dialog, shown in Figure 9-1, gives you access to all formatting options.
To launch this dialog, select the cell or range of cells you want to format (see Section 6.5 for details on selecting cells) and then use one of the following methods:
Use keyboard shortcut Ctrl-1 (this is number one, not letter l).
Choose Format->Cells... in the menubar.
Right-click on the selection and choose Format Cells....
The Format Cells dialog contains tabs Number, Alignment, Font, Border, Background, Protection, and Validation. These tabs are described in detail in the subsequent sections.
To set one of formatting options, select the corresponding tab, choose the options you need, and click OK. This will apply the options you selected (in all tabs) and close Format Cells dialog. You can also click on Apply to apply the and keep the dialog open, or on Close to close the dialog without applying changes.
9.1.2. Formatting Using the Format Toolbar
Some of the most commonly used formatting options, such as font, background, and alignment, can also be accessed by using the buttons in the Format Toolbar. This toolbar is described in detail in Section 4.3,